TRA Scan & TRA Extract Procedure
Prerequisites
Ensure you have the TRAScan app installed on your phone. Install it from the Play Store: https://play.google.com/store/apps/details?id=dev.imranr.tra_scan
Ensure you have the TRAExtract app installed on your PC. Download it from the releases page (for Windows, use the .exe file): https://github.com/ImranR98/TRAExtract/releases/latest
Procedure
Group invoices by company.
- This is done to simplify the work and make errors easier to catch. You can skip this step and treat all the invoices as one big group, but that is not recommended.
- From this point on, make sure the invoices within a group always stay in the same order as that will be important later.
- You may keep the groups separate, or stack them on top of each other at right angles to save space, as shown in the picture.
Invoices Separated by Company Invoice Groups Stacked at Right Angles 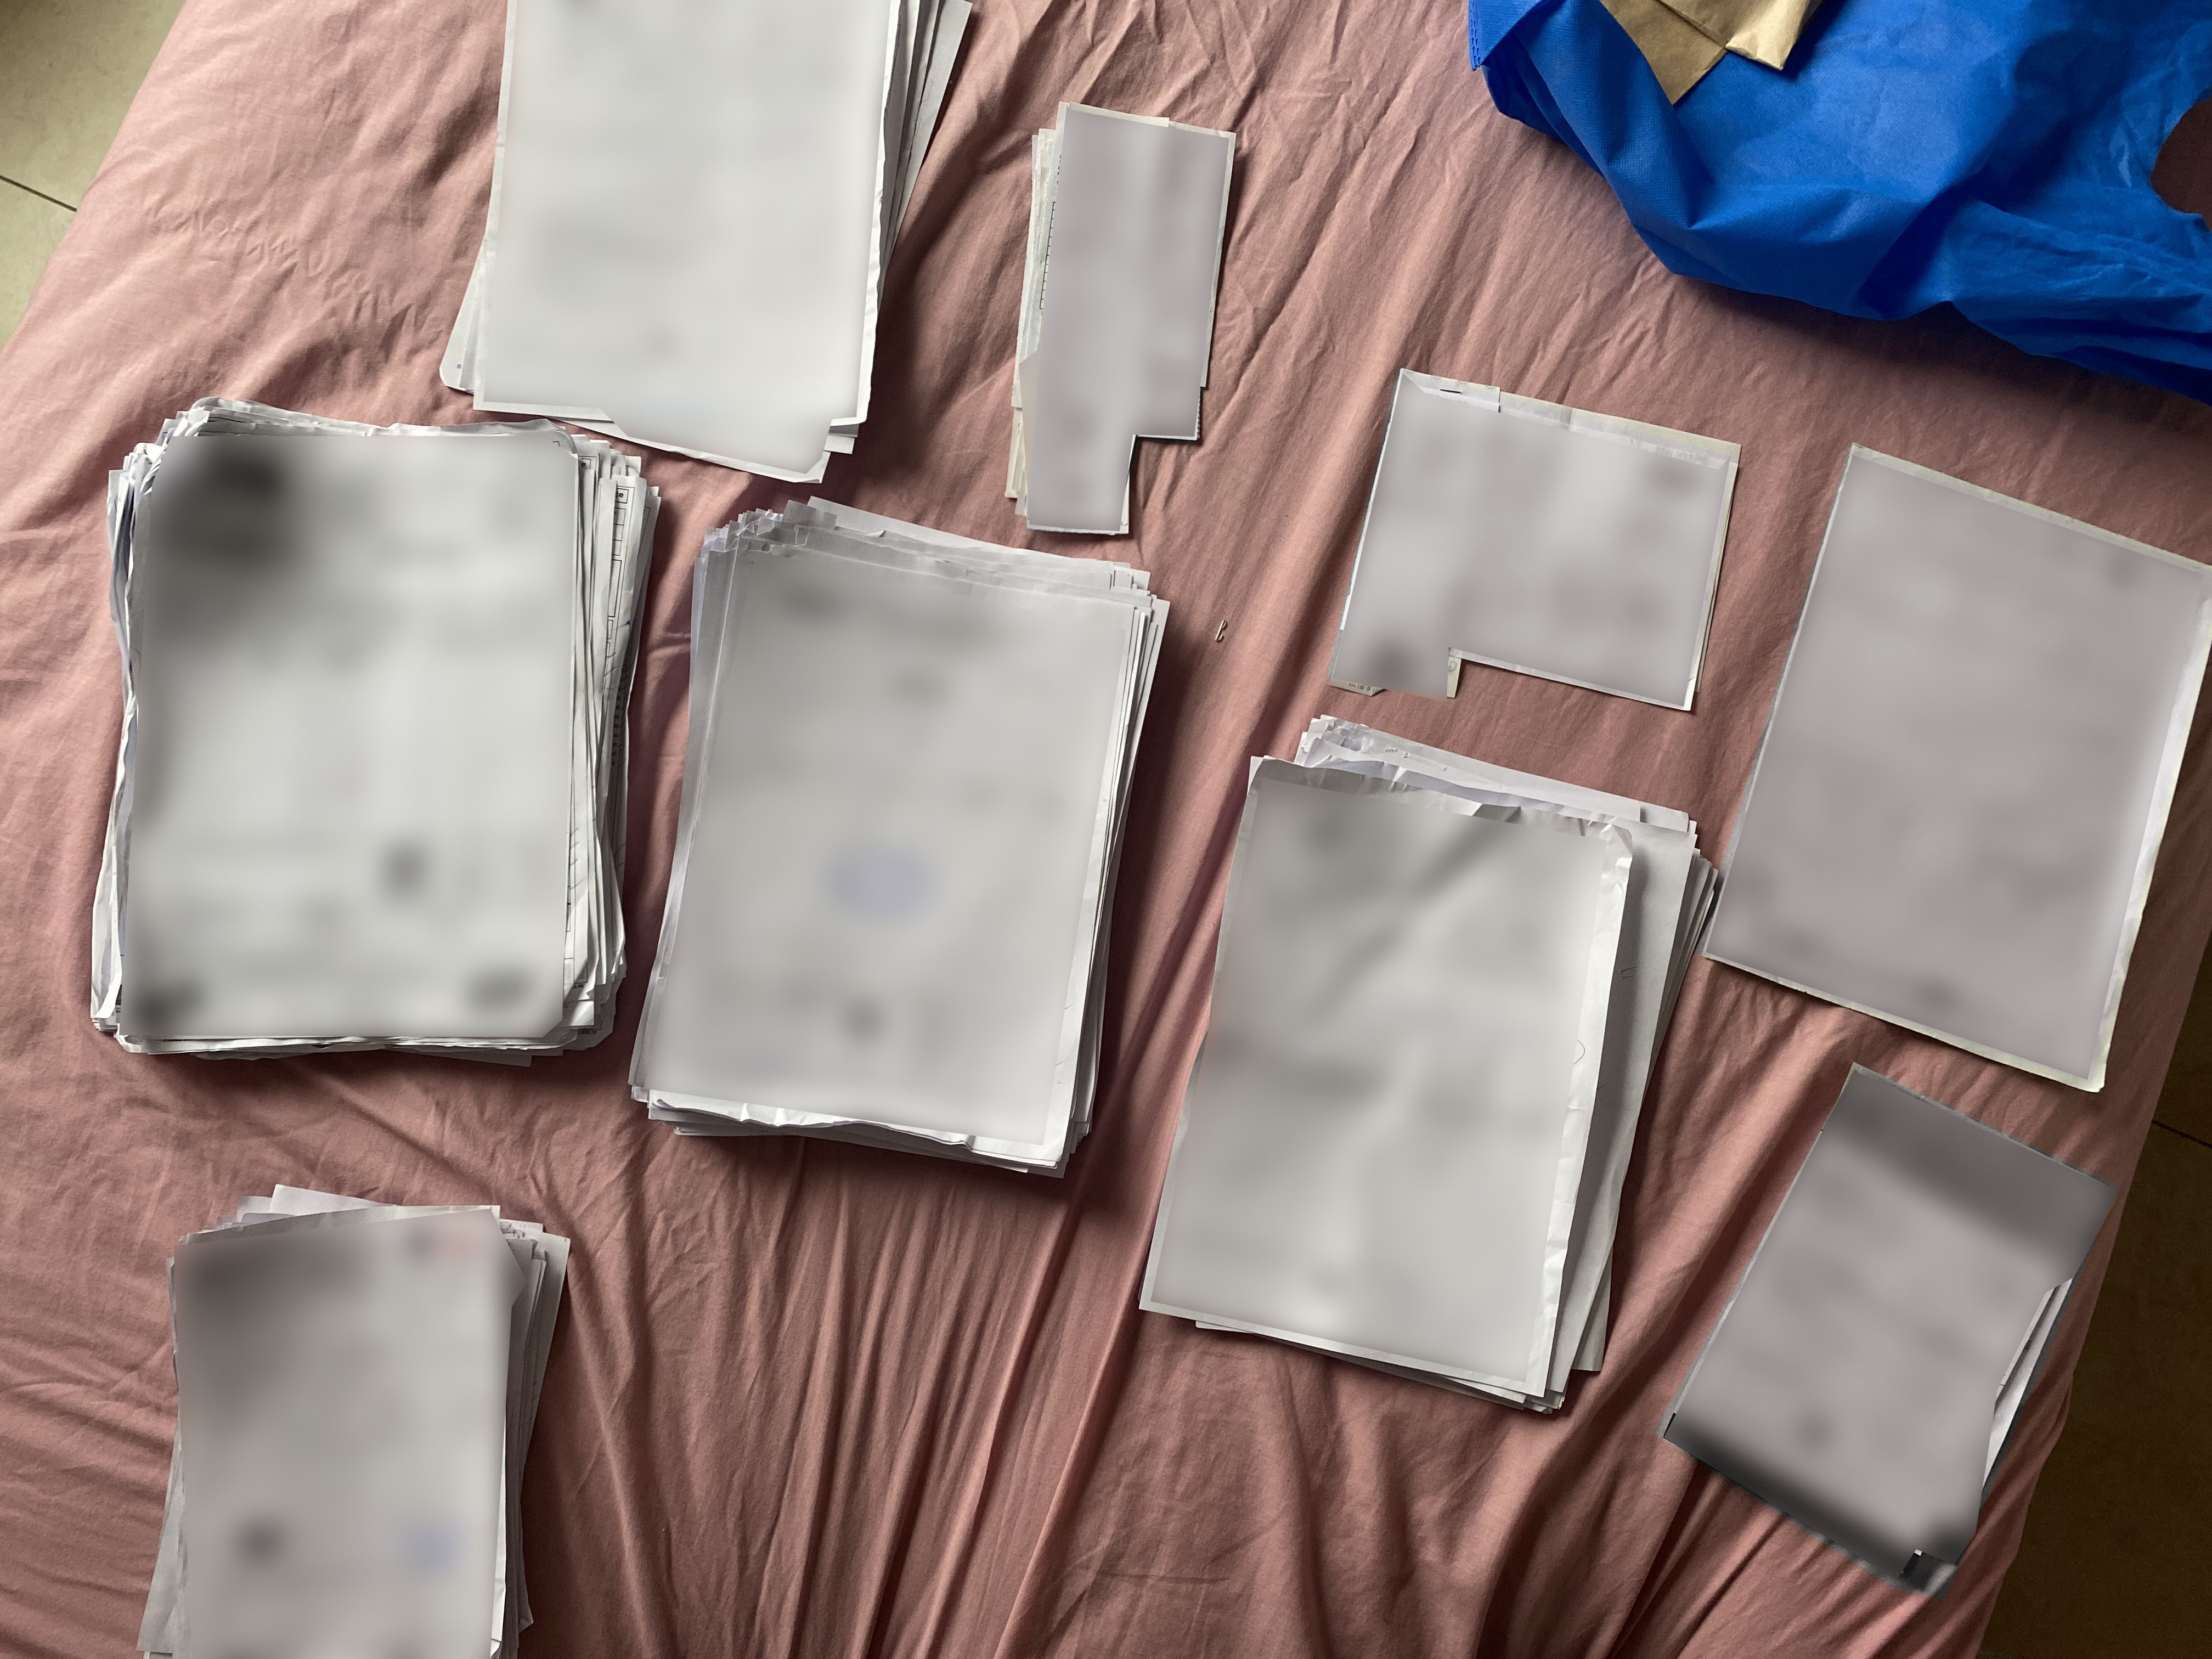
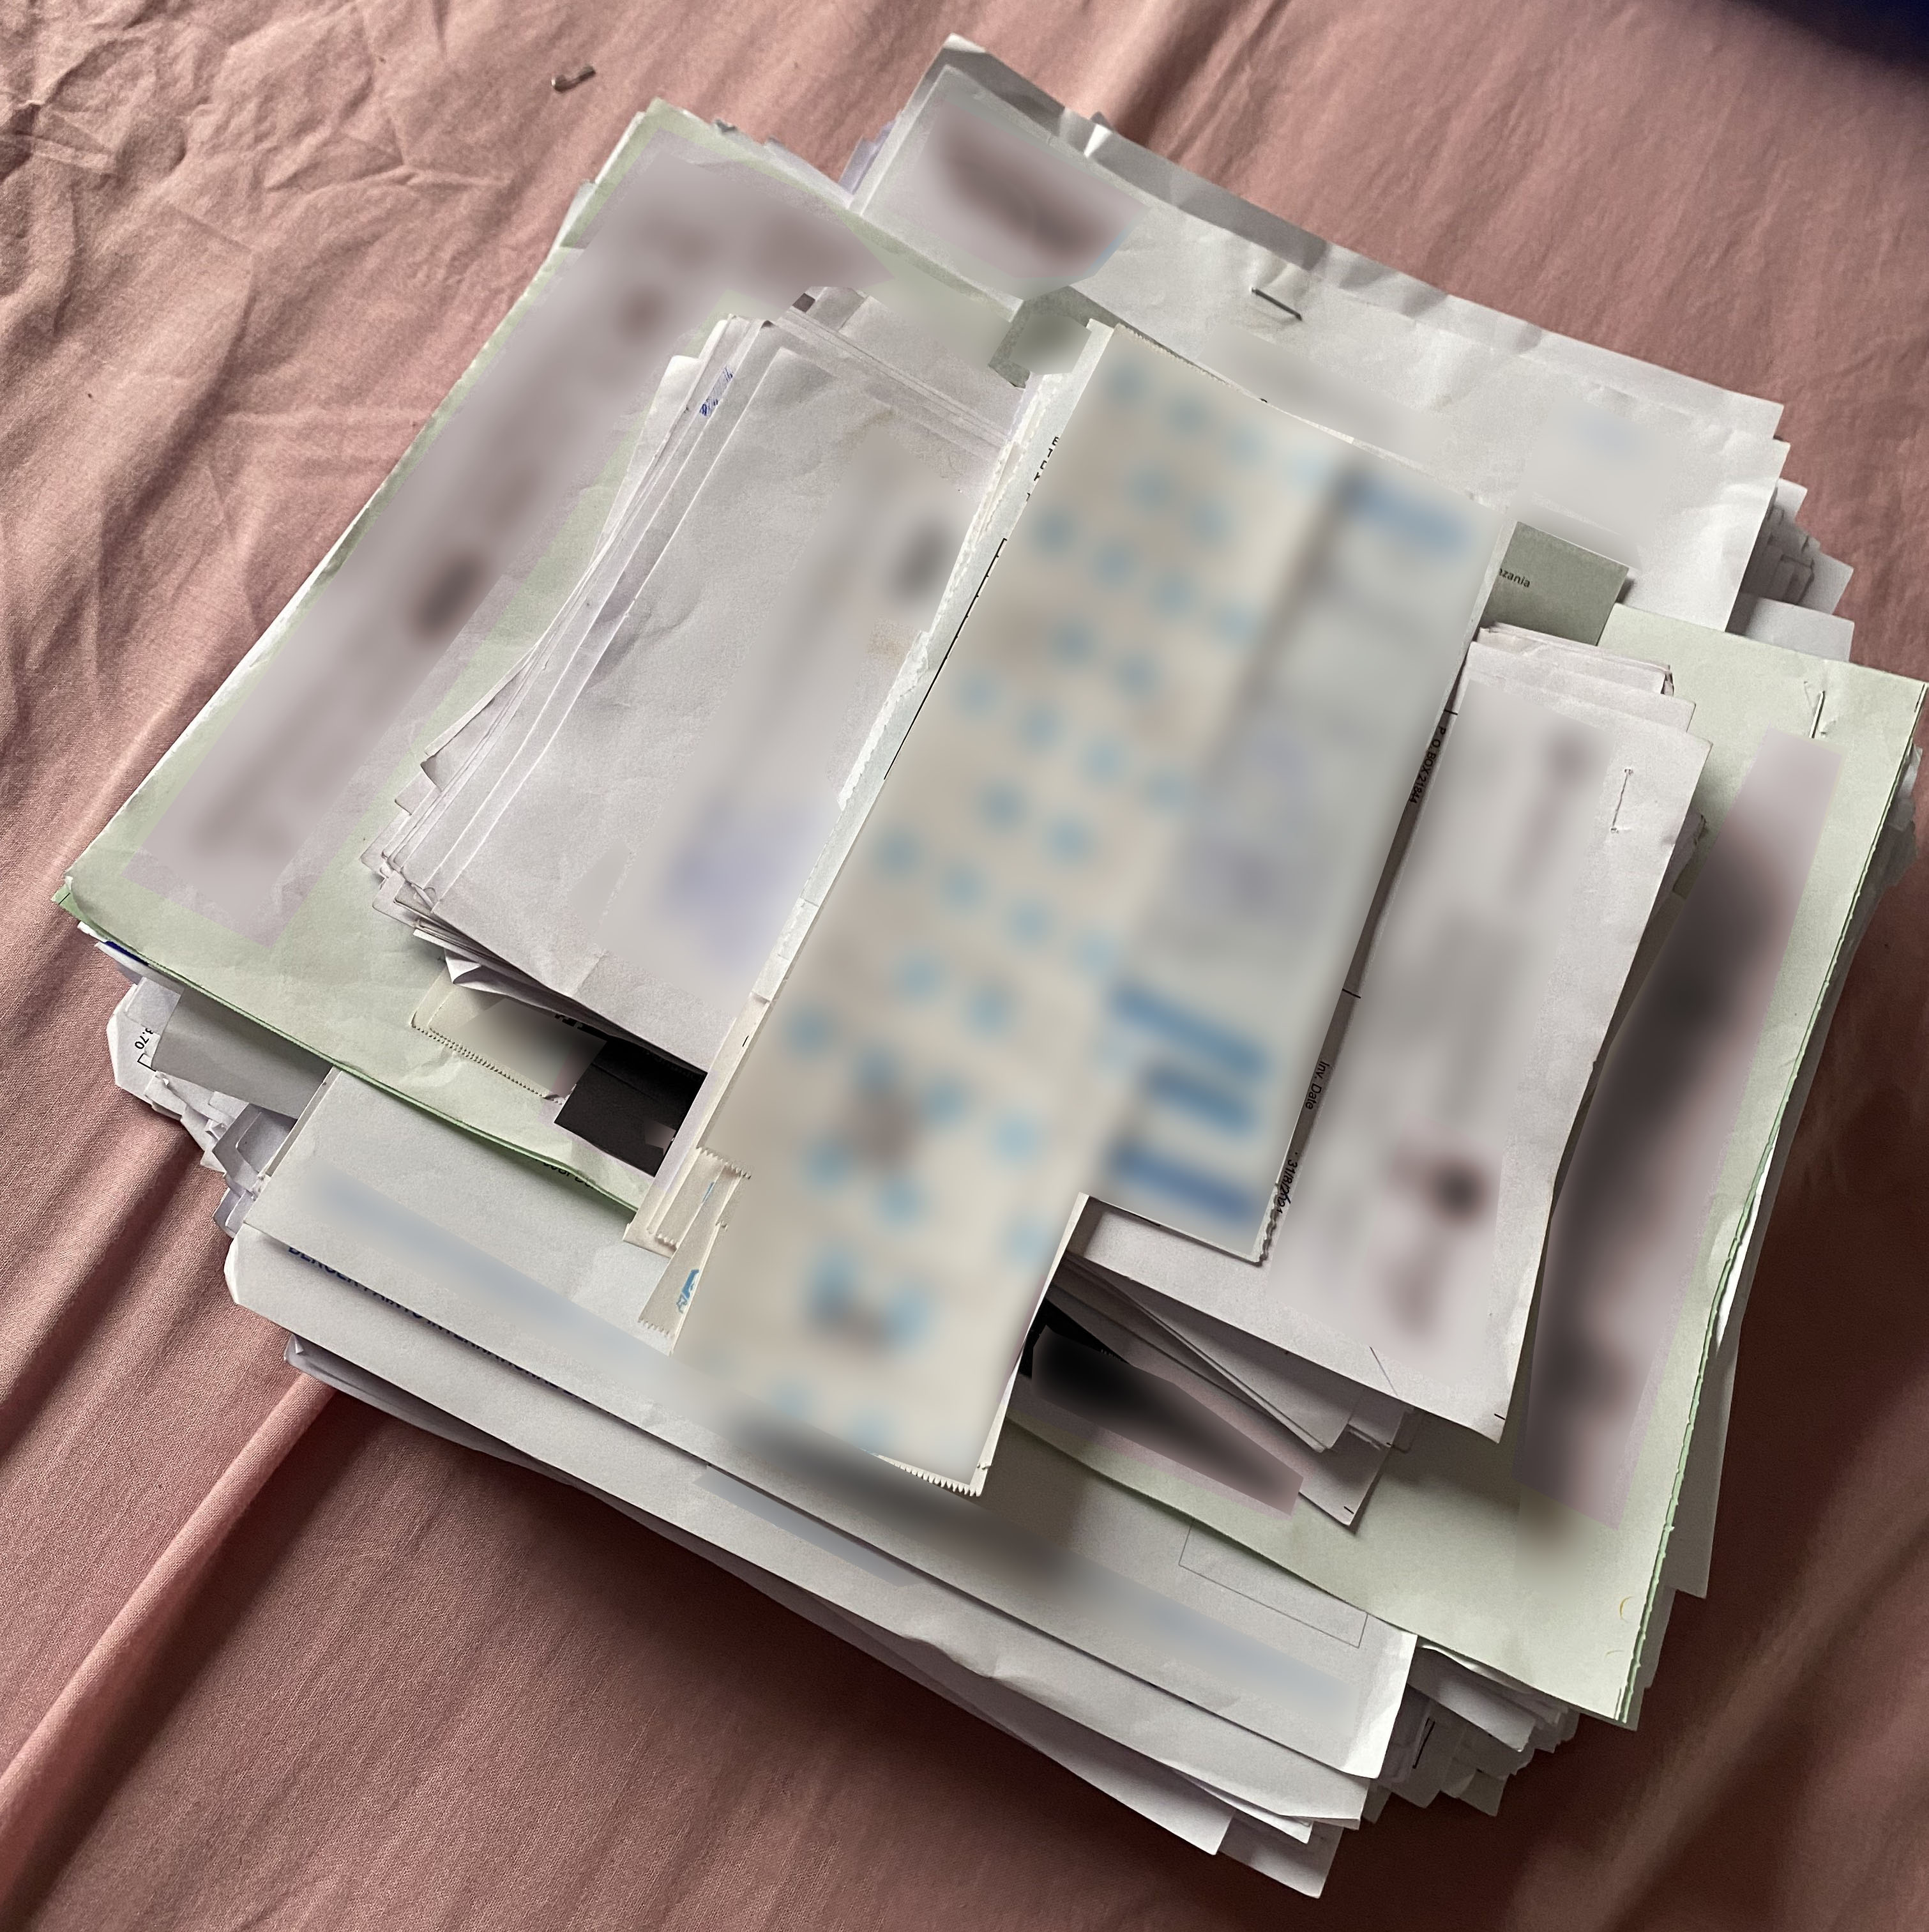
Begin scanning the first group using the TRAScan app on your phone.
- After you scan each invoice, turn it over and put it face-down onto a new "scanned" stack.
- Turning the invoices over is important as doing this keeps them in order (not doing so would reverse the order).
- If the app fails to scan an invoice, set that one aside; you will deal with it manually later.
Scanning 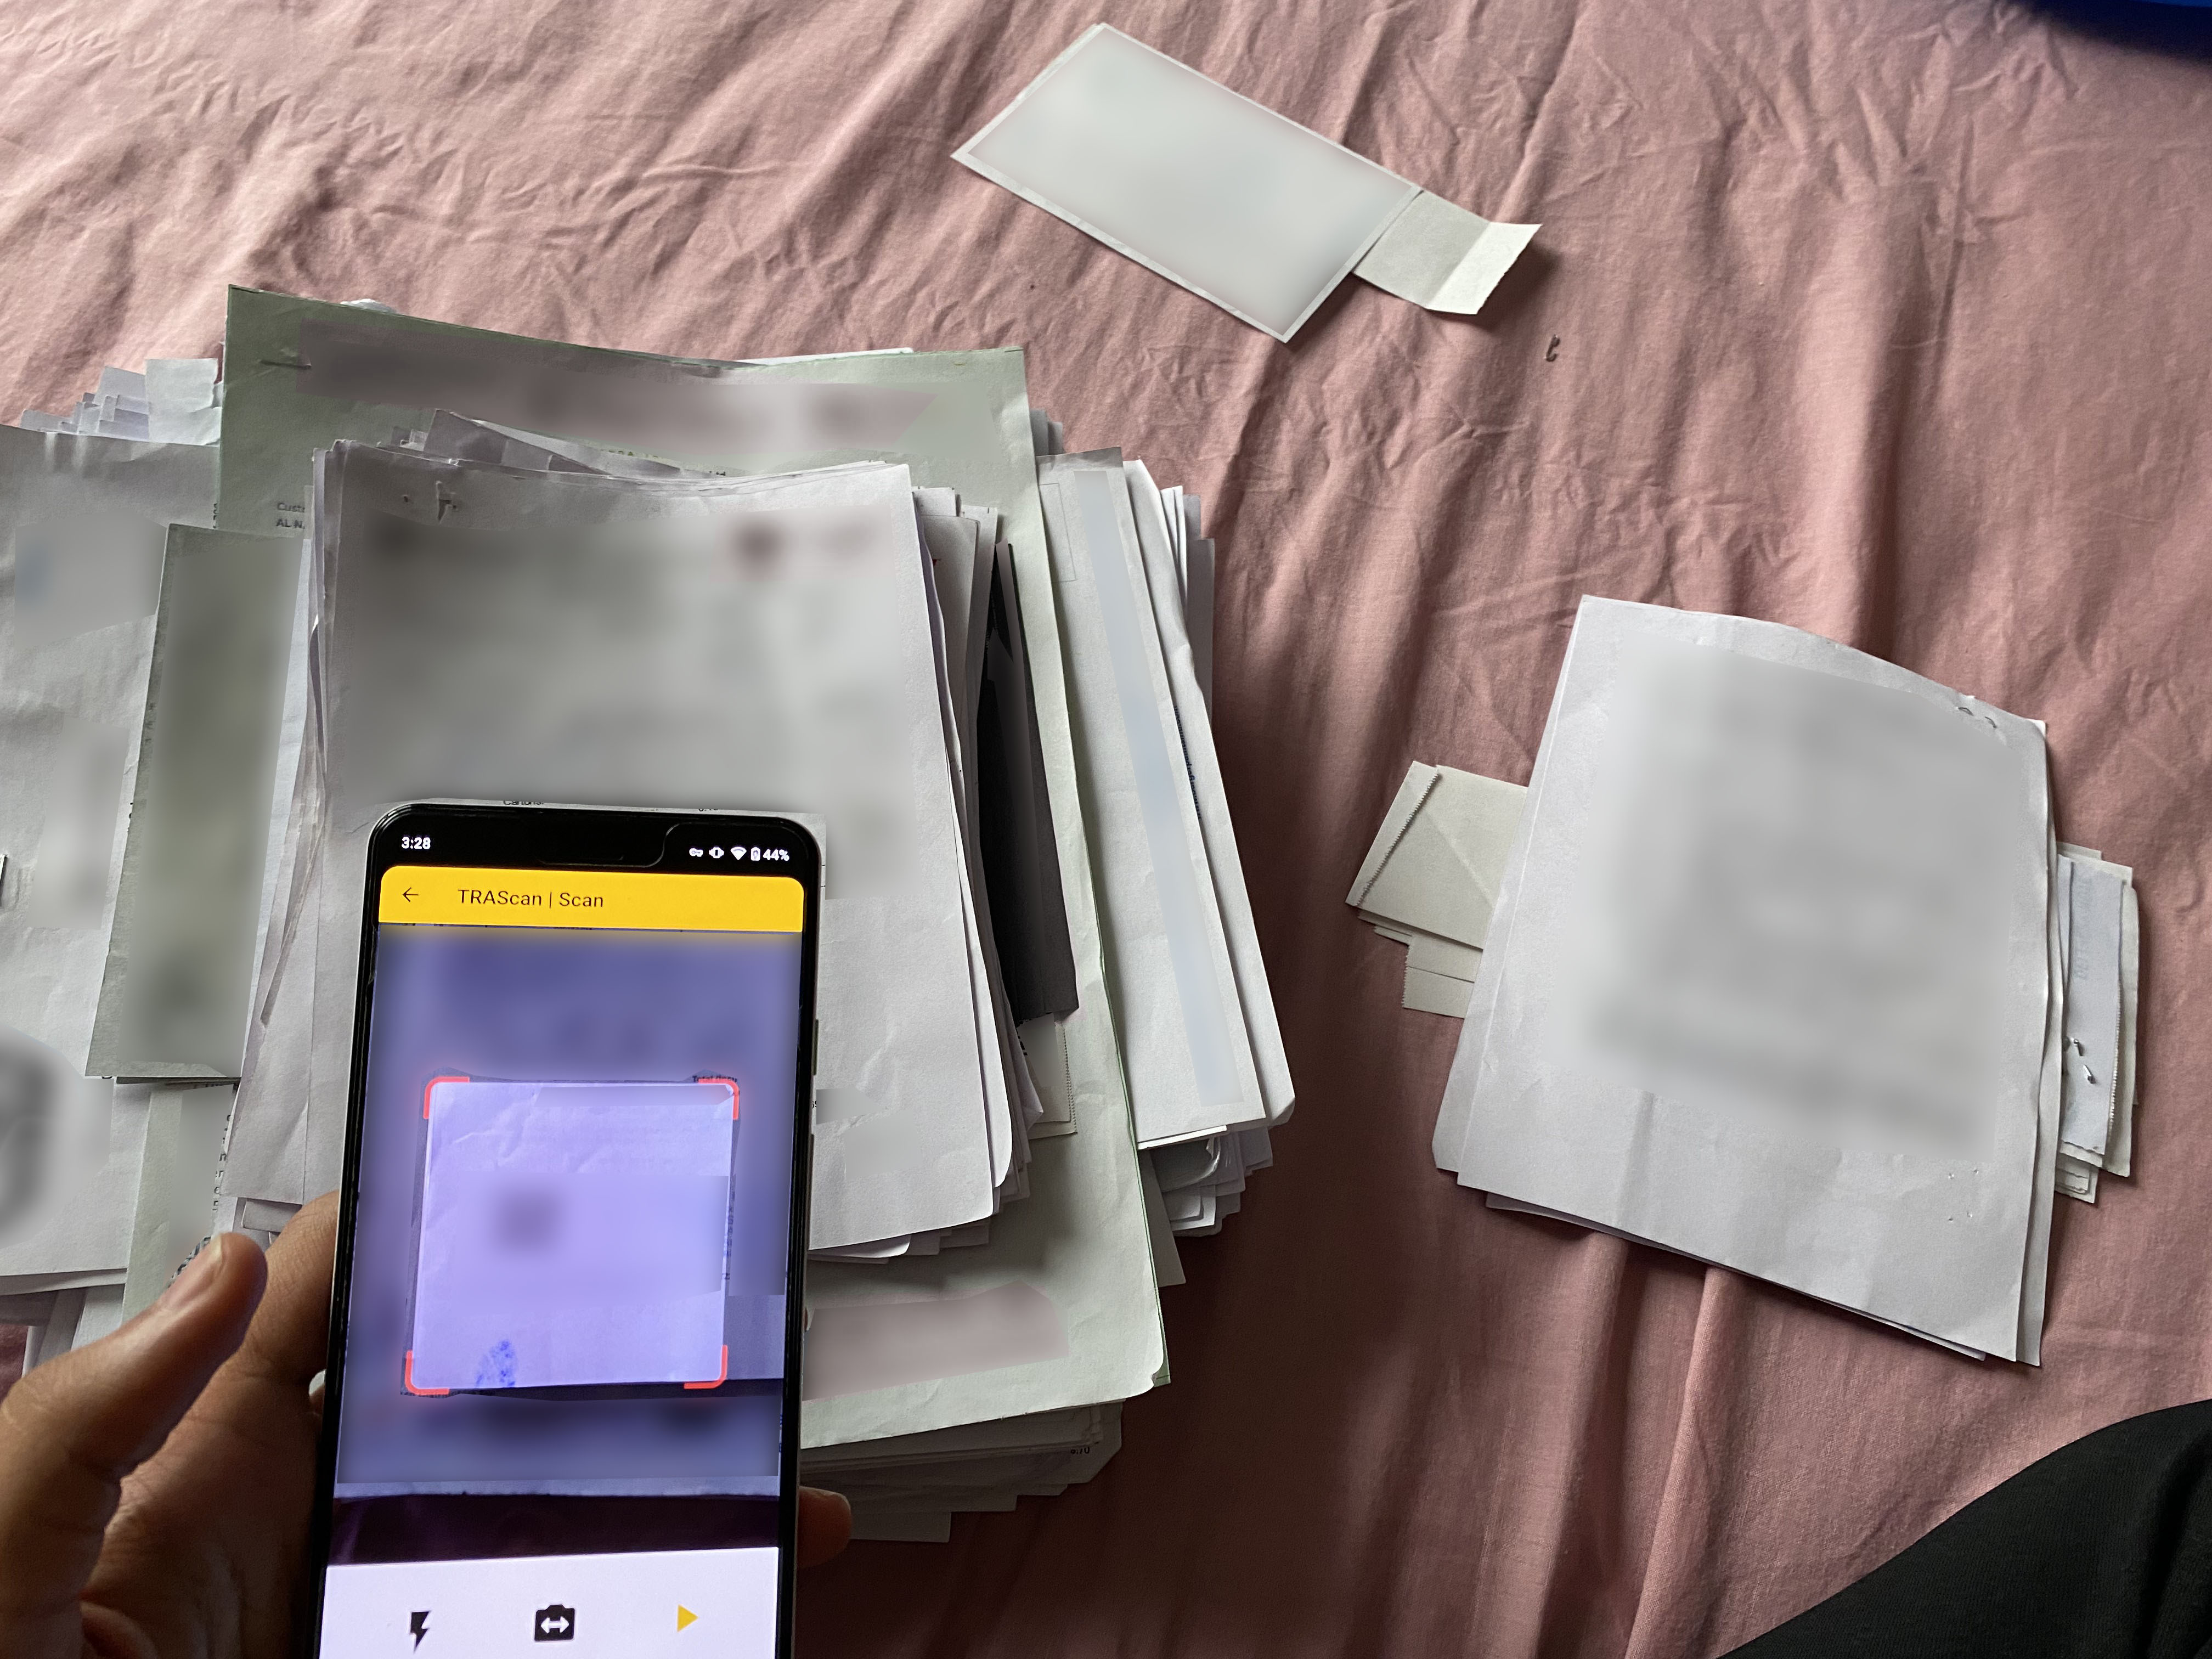 Note that scanned invoices are face-down, and one has been set aside as it could not be scanned.
When you get to the end of the group, stop scanning and export the resulting
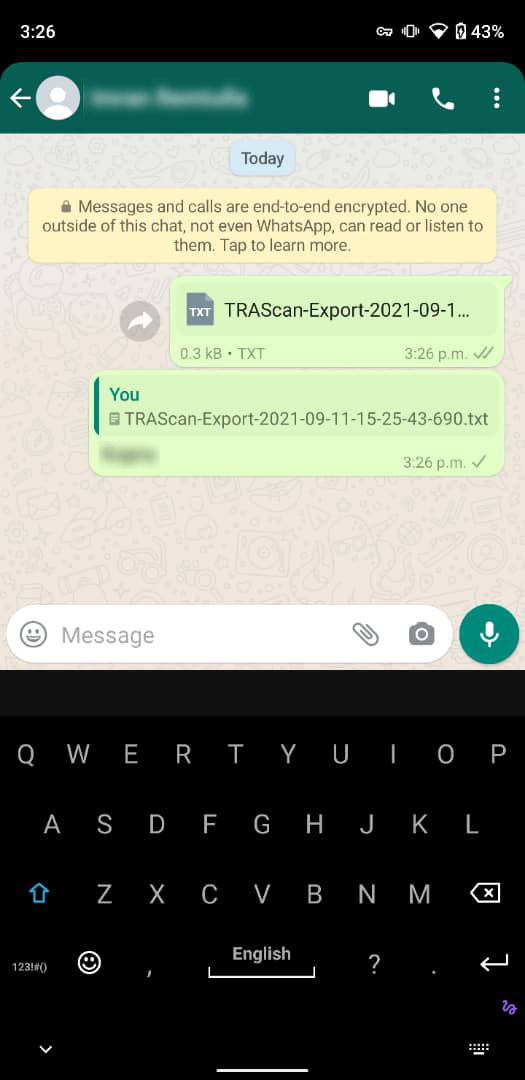
.txtscan file.- You can save the scan file in a number of ways, including emailing it to yourself or uploading it to cloud storage. Another option (sending to someone via WhatsApp) is shown in the picture.
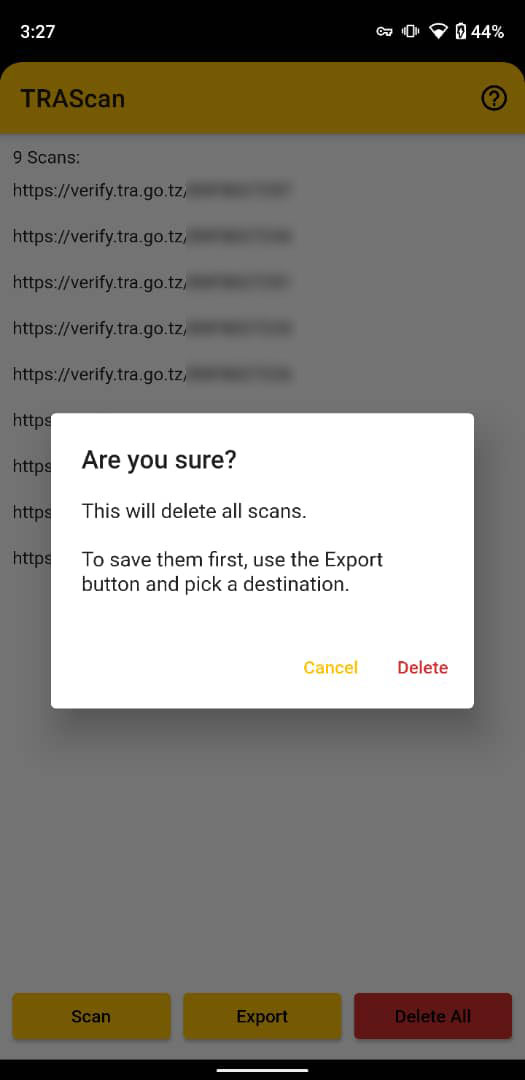
- After making sure the results were saved, delete them from the app.
Completed Scanning for This Group/Company Saving the Scans in Some Way Deleting the Scans to Make Room for the Next Group 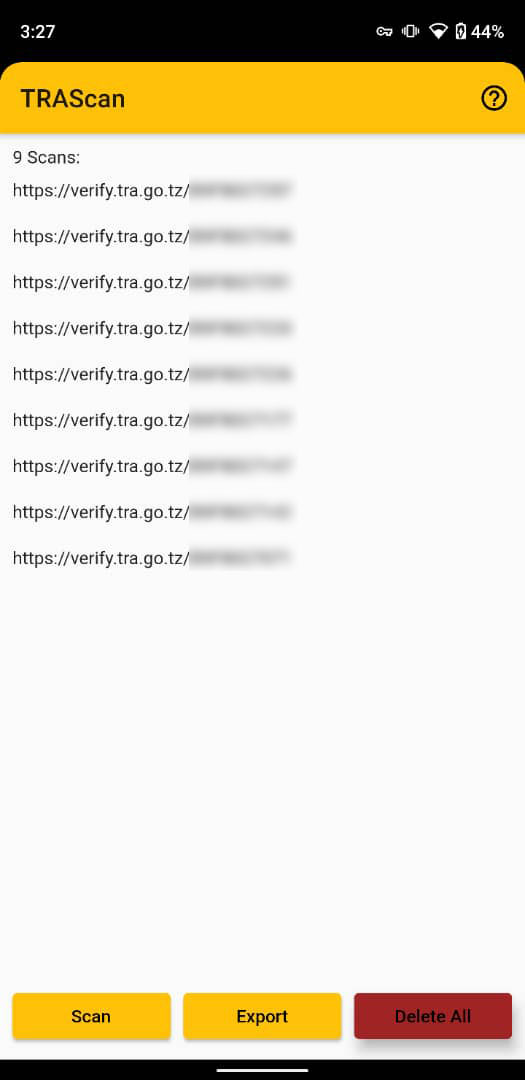
Repeat steps 2 and 3 with all other groups.
Get all the scan files onto a computer and process them using the TRAExtract app.
- Pick a file and a folder in which to store the processed result, then click start.
- When processing is complete, the results will be stored as a
.csvfile in the folder you picked. - Do this for every scan file.
- You can run multiple instances of TRAExtract simultaneously to save time.
Transferring Original Scan Files from TRAScan Onto a Computer 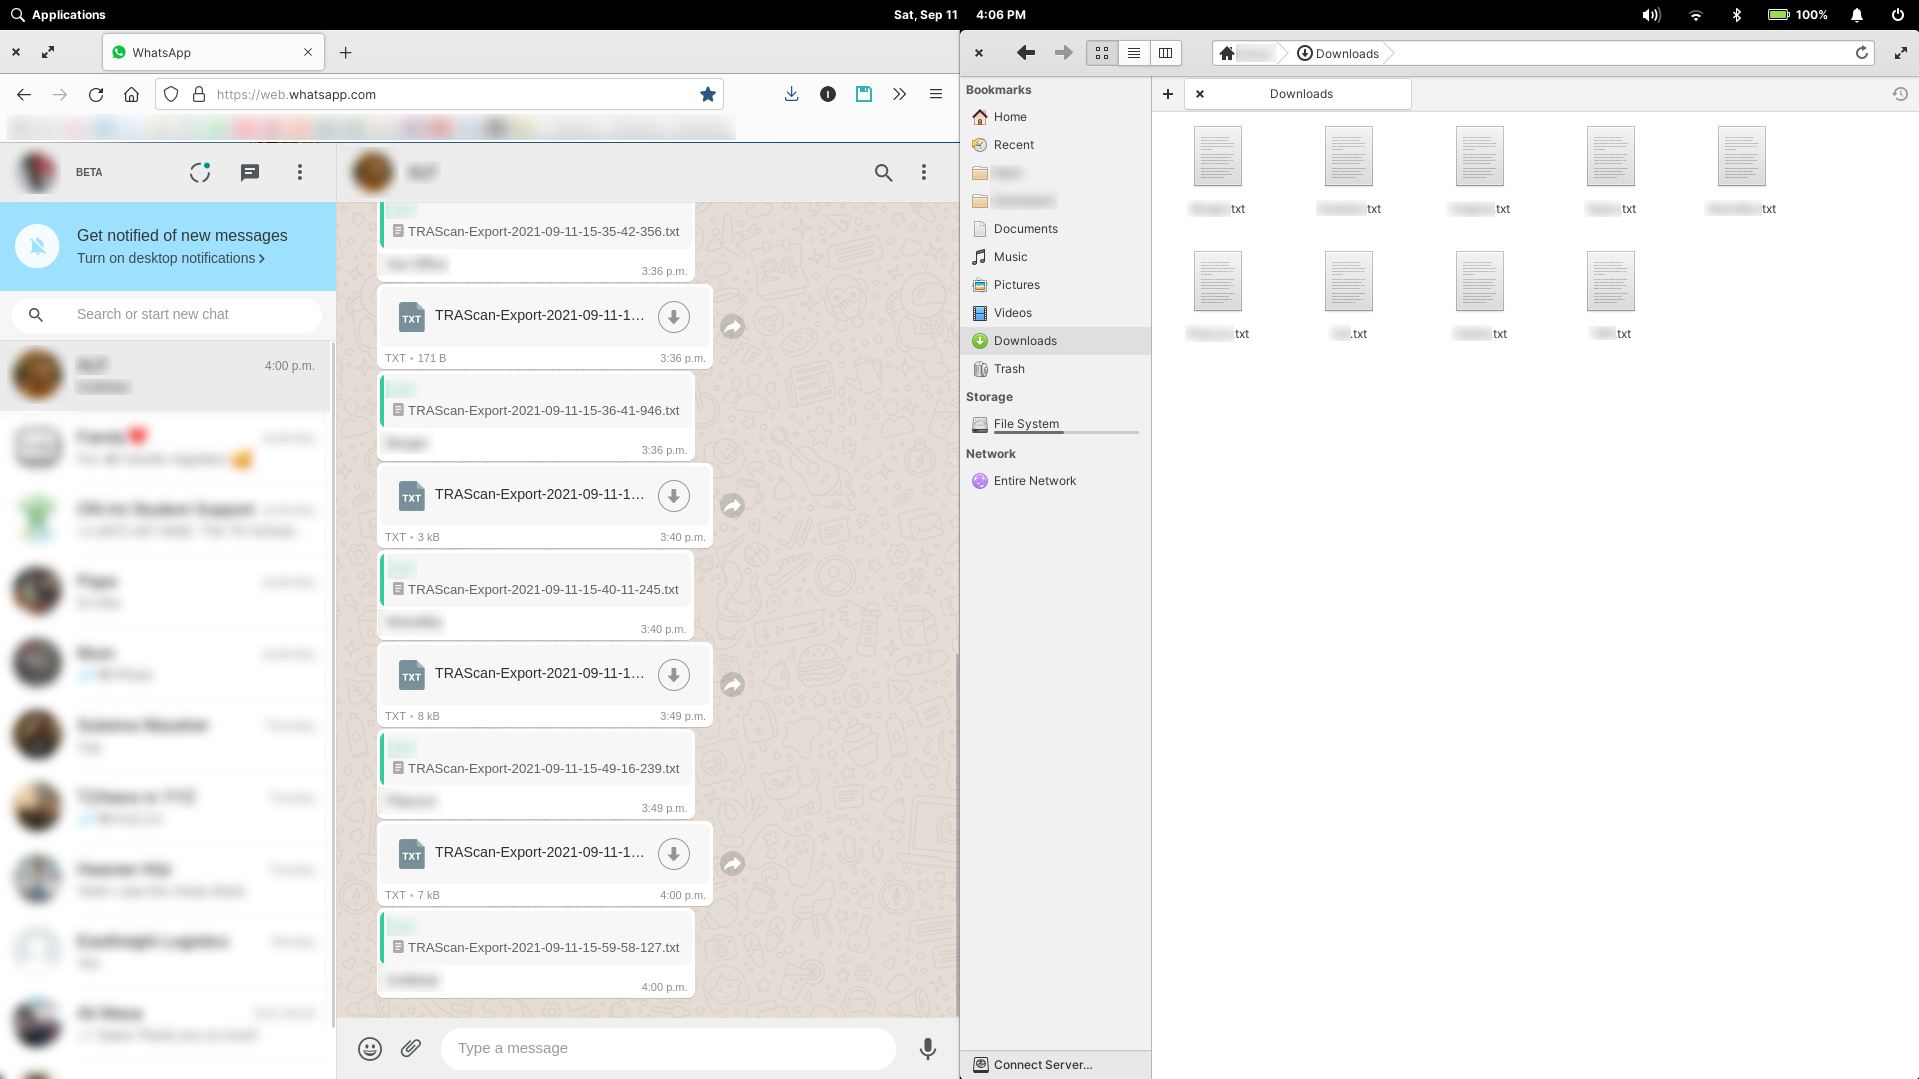
Using TRAExtract to Process a Scan File 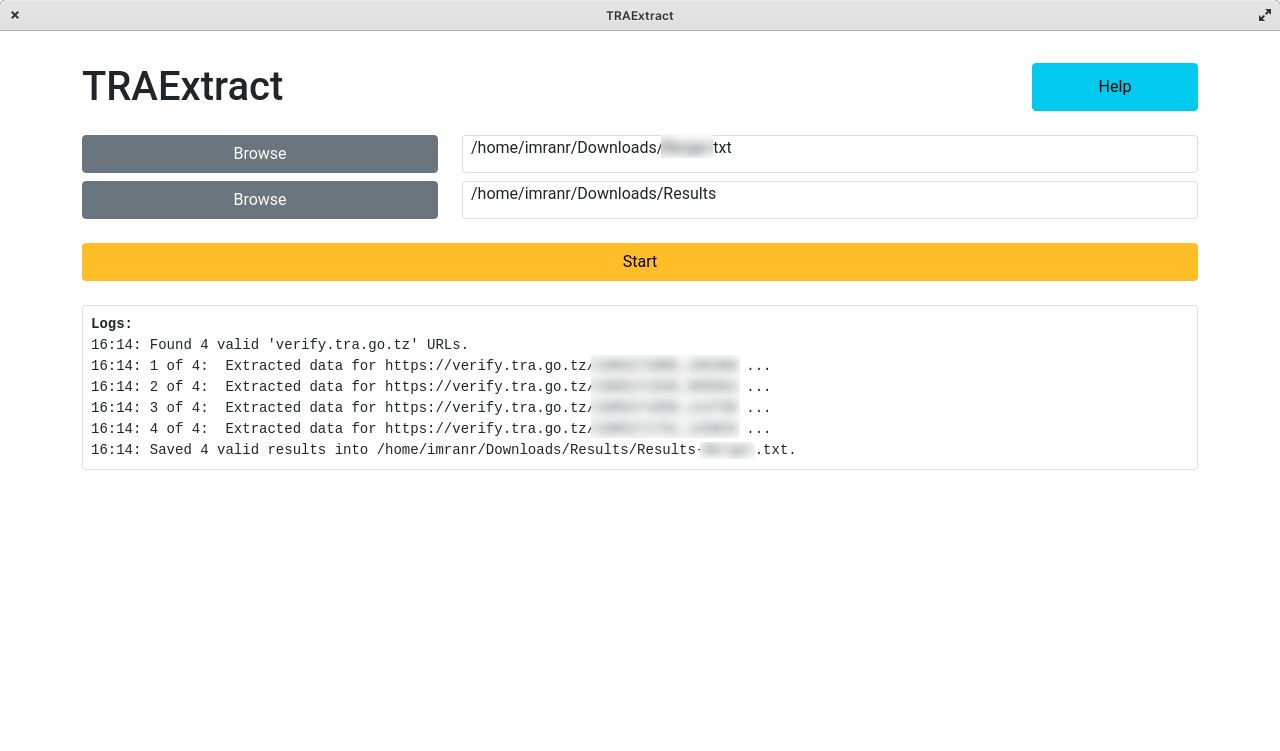
Processed Result Files from TRAExtract 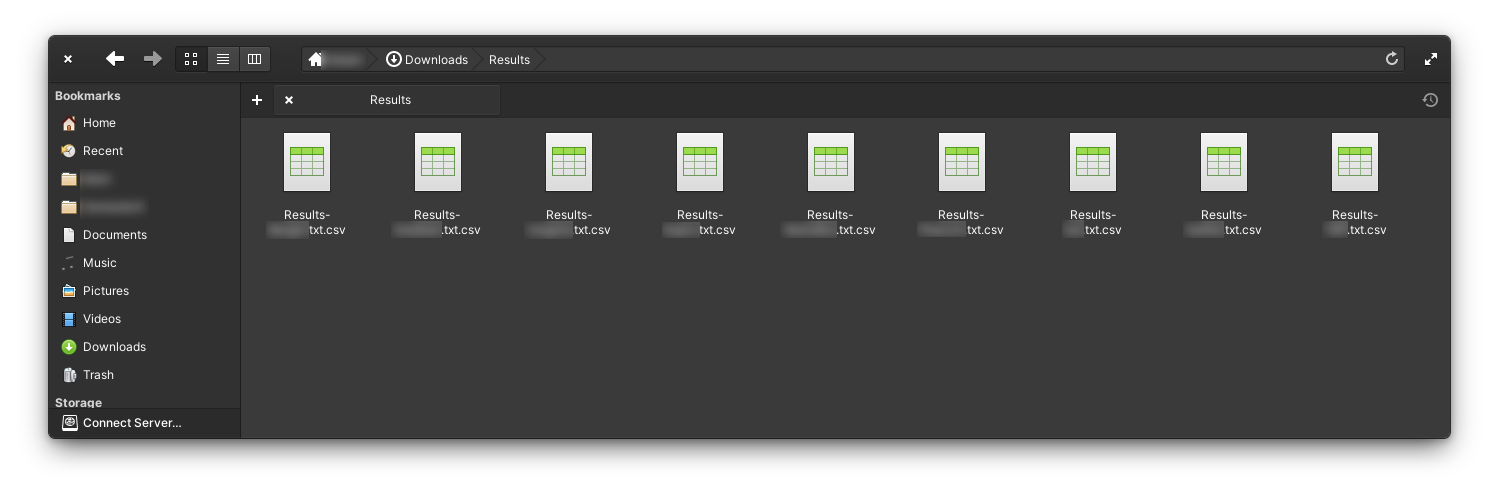
Merge each processed
.csvresult file into a single Excel document, using copy-paste.Copying Results for Each Group/Company from their TRAExtract Output Files Into a Single Excel File 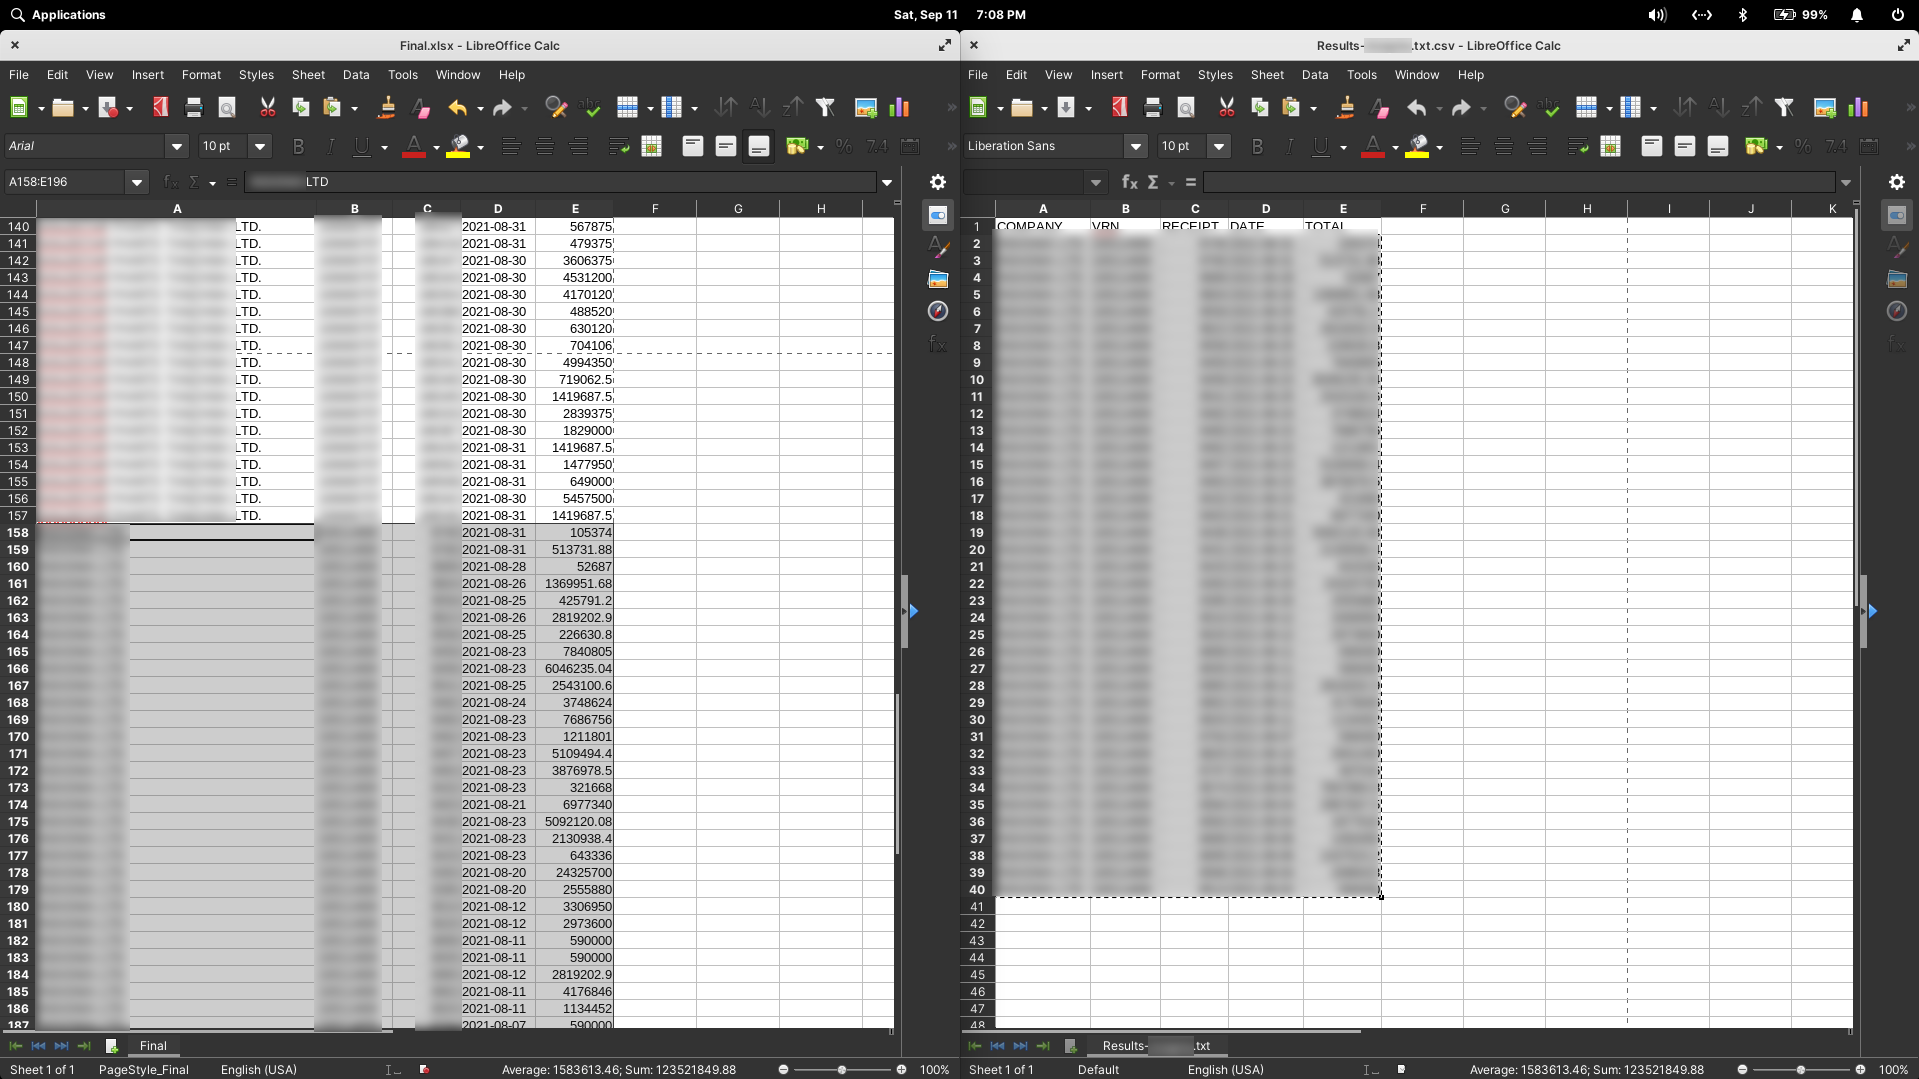
Look for errors in the Excel document.
- Some invoices may have been scanned incorrectly, causing errors.
- The final Excel file will contain some rows with error messages.
- Since the entries in the file are in the same order as the original stack of invoices, you should be able to find the invoice relevant to each error by looking at the entries above and below that error.
- Once the problem invoice has been identified, you should manually fix the error.
A TRAExtract Results File Containing Two Errors 
Fix invoice numbers.
For some companies, the invoice number data extracted by TRAExtract may not be correct (it uses the "receipt number" data).
Go through the results file and delete the extracted invoice number for any such companies.
Manually enter the correct invoice numbers. This should be easy since you maintained the order of the physical invoices so it is the same as the order of entries in the Excel document.
Deleting Extracted Invoice Numbers Where Necessary 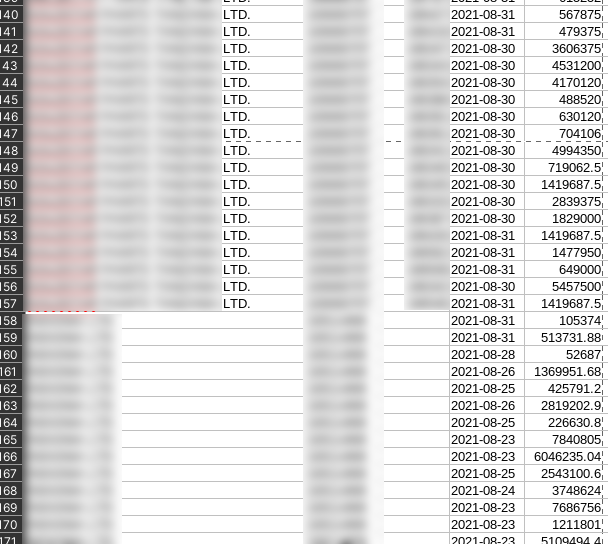
Manually Entering Correct Invoice Numbers 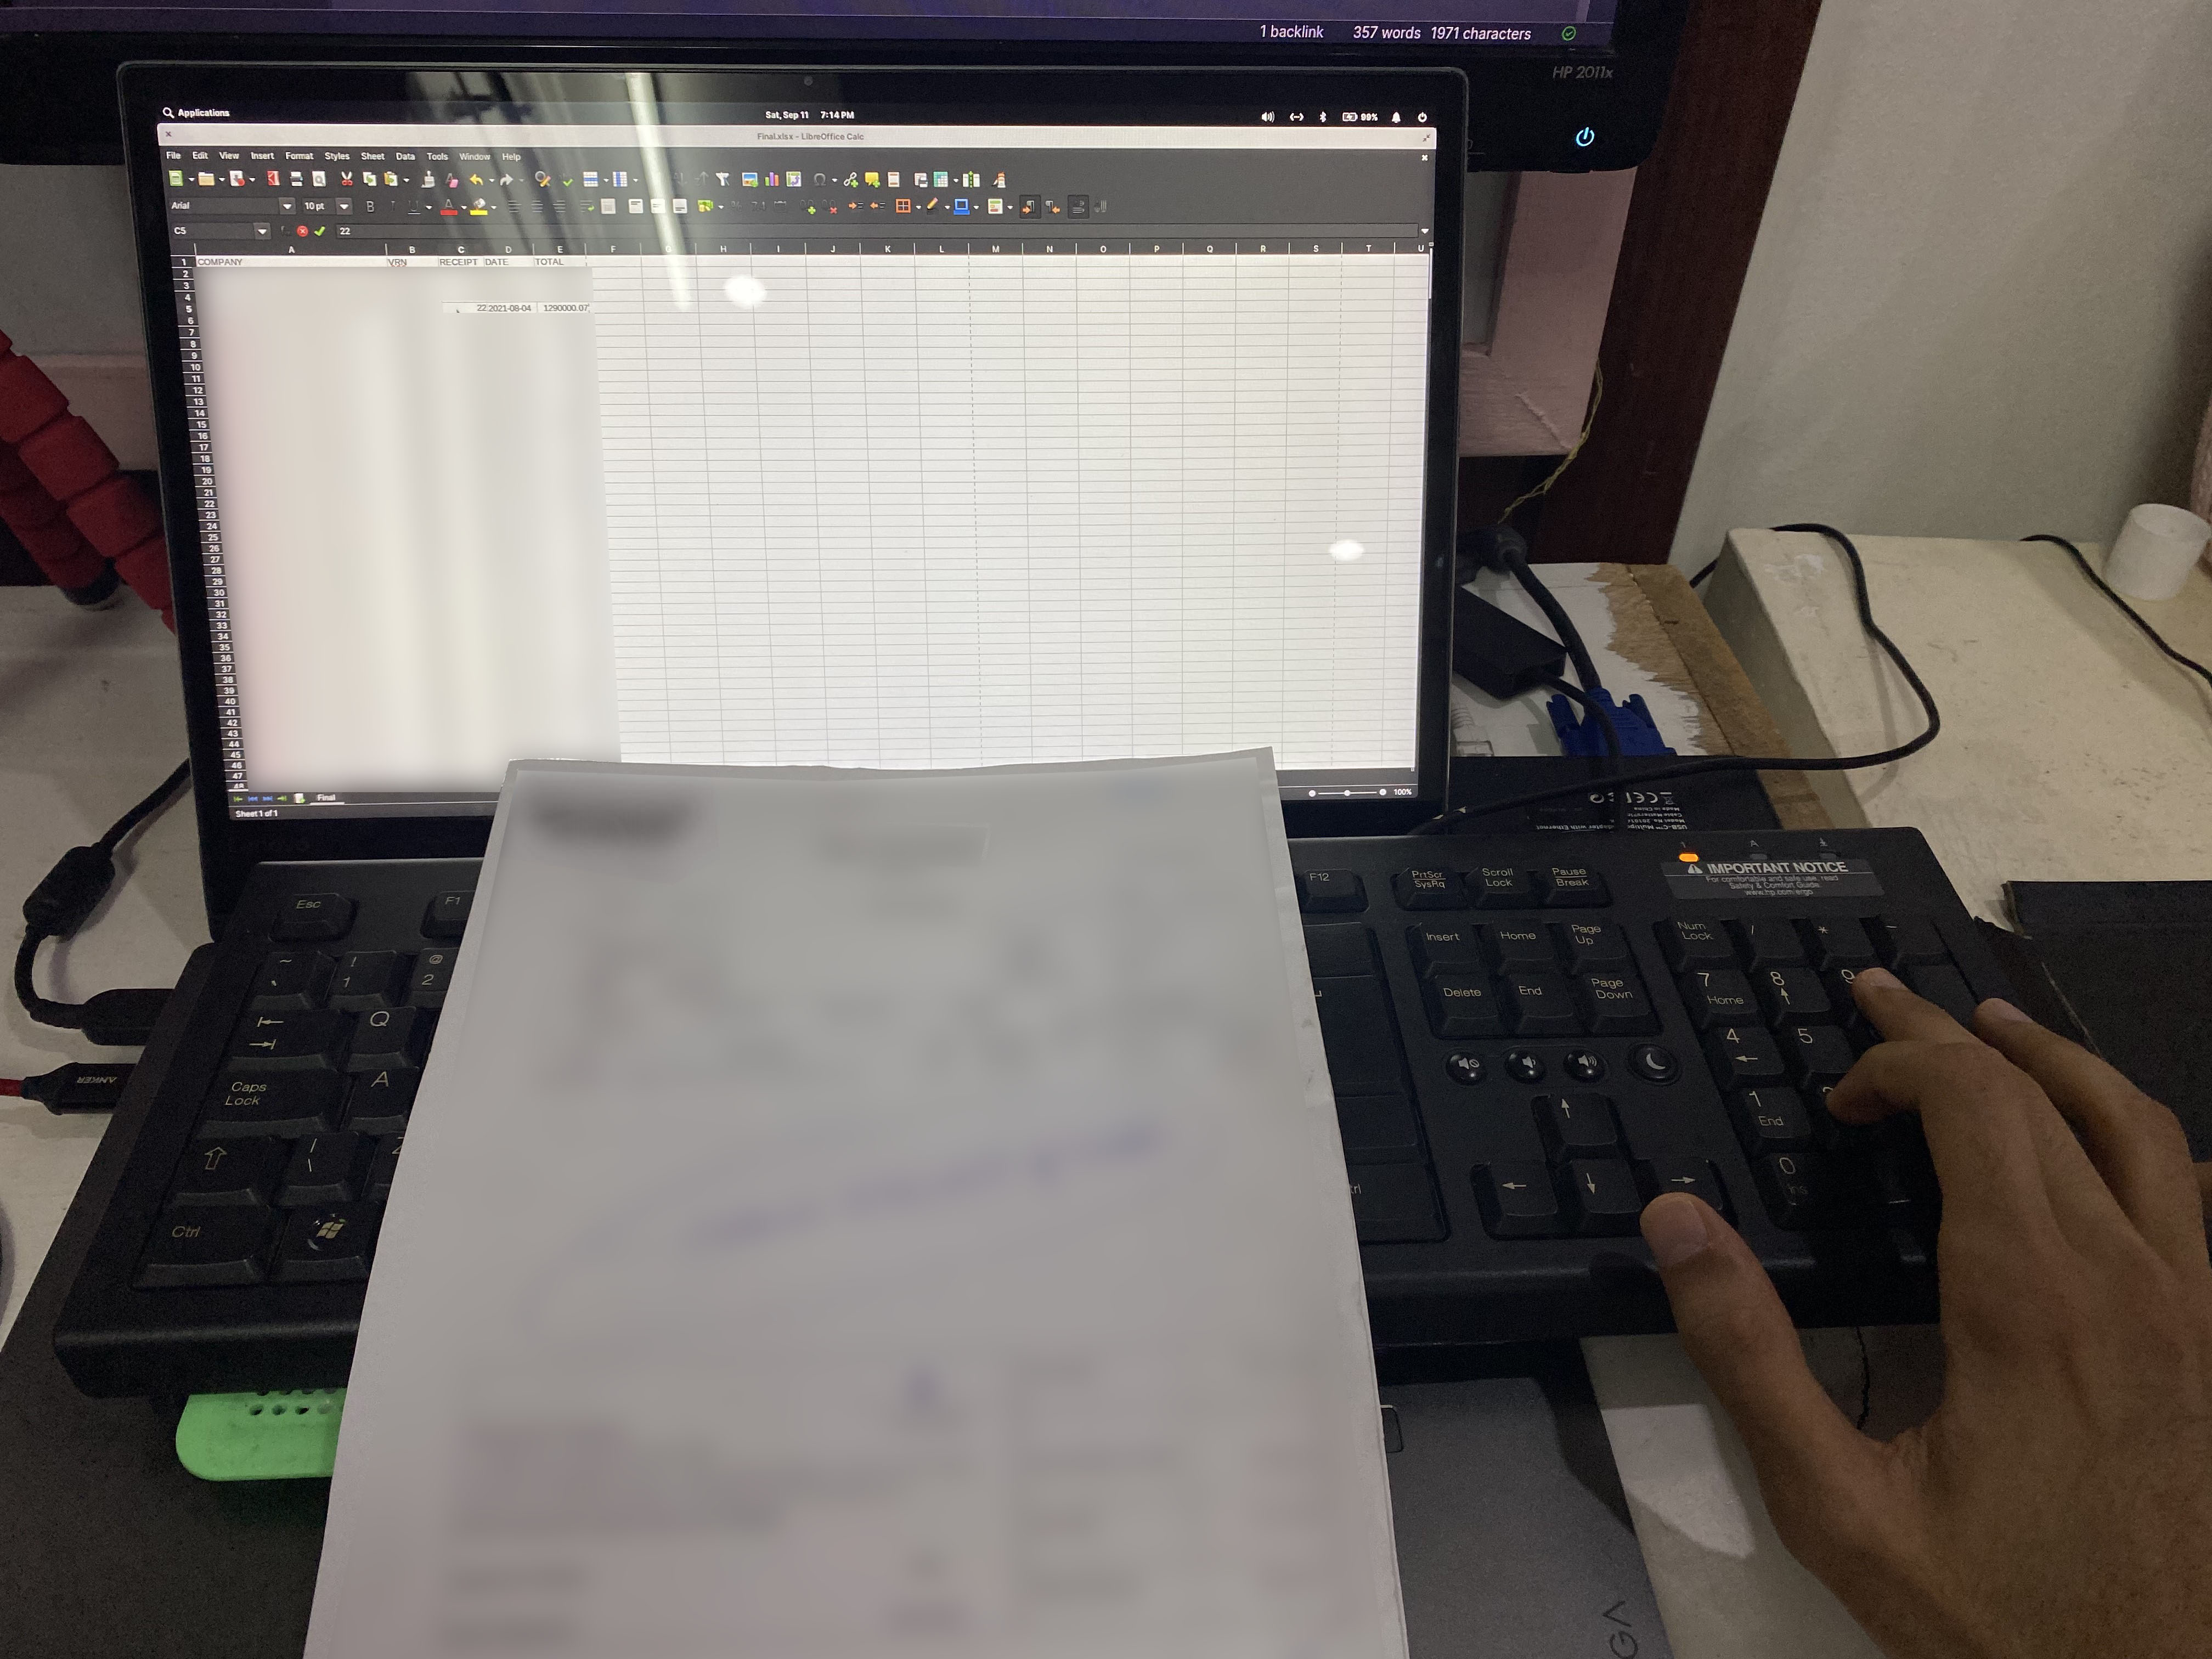
Manually add any invoices that could not be scanned and were previously set aside.
Done!